Donation Forms - Get Started Tab
On the Get Started tab, select the funds associated with the donation form and configure the payment options.
Configure options on the Get Started Tab
-
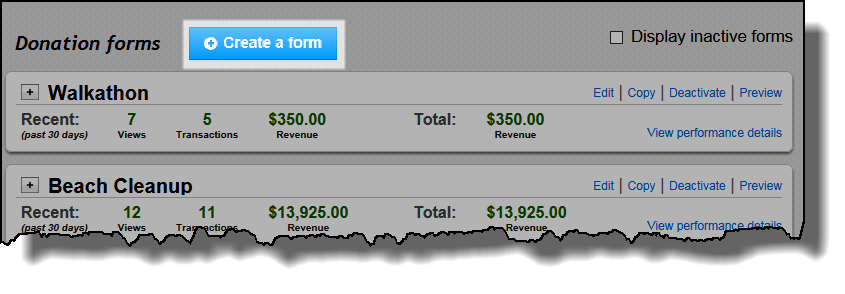
From the Donation Dashboard, click Create a form.
-
Enter a name in the Name your donation form field. The name is just for internal use so you can identify the form in The Raiser's Edge.
-
Next, click Add fund to select a fund from The Raiser's Edge for your online donations.
You must designate at least one fund to receive revenue from your form. If you select multiple funds, website users select a fund from a drop-down list on the donation form.
-
In the Funds grid, arrange how the funds should display on the donation form:
-
Drag and drop funds to change their order. Keep in mind that the first fund in the grid is selected by default.
-
Under Display name, you can edit how the fund names appear in the list.
-
-
To give donors the option to contribute to an unlisted fund, select Allow other funds. When you download transactions later, you can select which fund to map to donor entries.
-
Under Select the payment methods to include, select whether to include Credit card, Direct debit, and Bill me later options on the form.
If you select Credit card:
-
Select the payment configuration to use under Blackbaud merchant account. A payment configuration includes the gateway information, access credentials, fraud protection options, and supported card types to use when the form processes credit card payments.
Note: If your account only uses one configuration, it's selected by default.
-
Select whether to use Blackbaud Checkout or the standard checkout to collect credit card information. For more information, see Credit Card Payments.
Note: To allow direct debits, organizations using non-US bank accounts and for all customers using The Raiser’s Edge version 7.93, Patch 10 or lower, the Electronic Funds Transfer module for The Raiser's Edge is required.
-
-
Click the Search button to select an appeal to associate with your form. For example, if you create an appeal for an email solicitation that links donors to your form, you can select that appeal and then use it to manage fundraising goals and track progress.
-
Click Generate receipts for this form to allow donors to download an eReceipt. The receipt uses a default format that includes fields and verbiage specific to your country's requirements. To insert additional information, such as when laws or requirements change, enter custom text in the Additional text to include on the receipt field.
-
Select Include consent opt-in to allow donors to opt in to marketing communications when they submit online donations. For more information, see Consent Tracking.
-
Click Save & Continue to open the Extras tab.